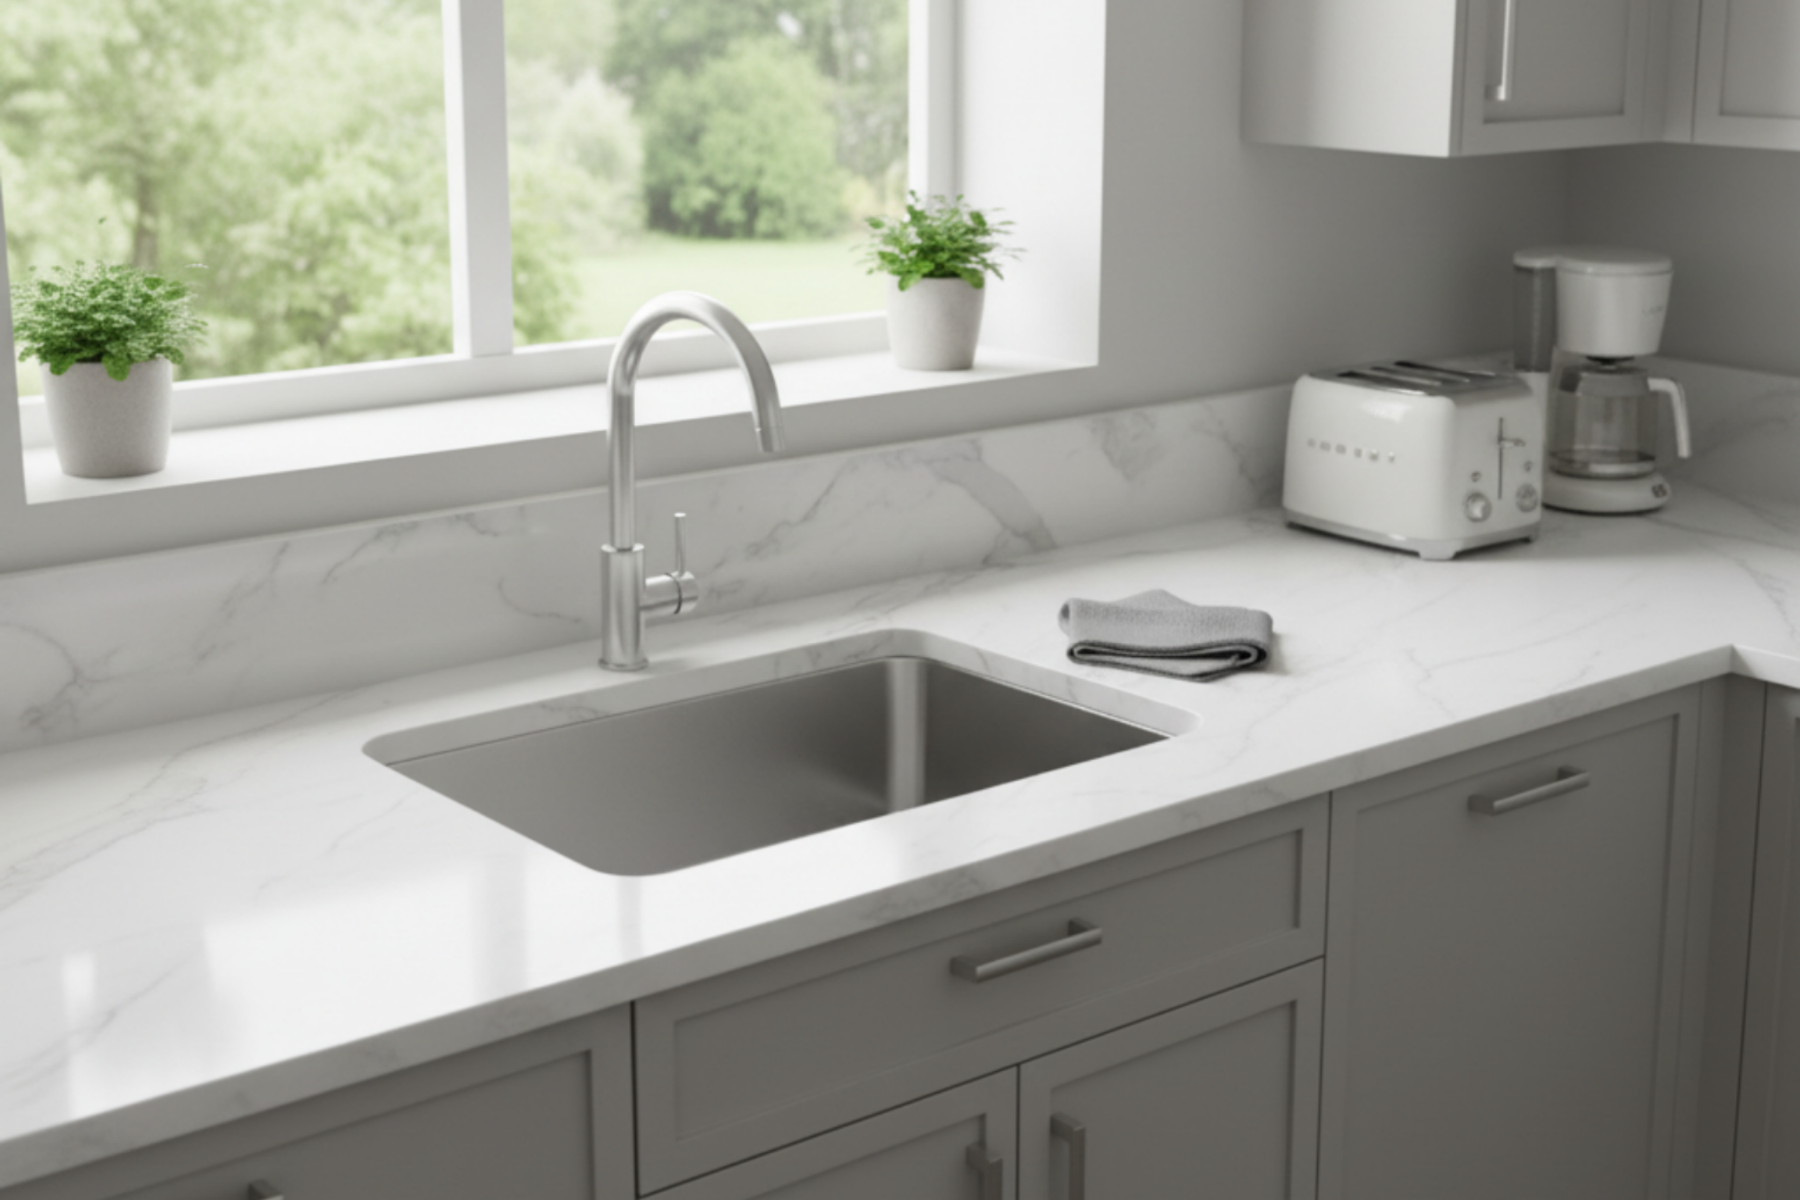
Undermount Sink Installation: The Key to a Perfect Countertop Seal
Undermount sinks are sleek, modern, and make wiping crumbs directly into the basin a breeze. However, their primary point of vulnerability is the seal that holds them to the underside of the countertop. A failing seal doesn't just look messy—it's an express ticket for water to rot your cabinet substrate and structure.
Here’s how to ensure your undermount sink installation results in a flawless, permanent, watertight seal.
Preparation: The Foundation of Success
The most common cause of failure is poor surface preparation.
- Clean Both Surfaces: The sink flange and the underside of the countertop must be immaculate. Use denatured alcohol or acetone to remove all dust, grease, and soap scum from both surfaces. No dirt or residual adhesive!
- Dry Fit: Test the placement of the sink before applying adhesive. Ensure you have the necessary clearance for clips, faucets, and disposal connections.
Step 1: The Adhesive - Silicone is King
Forget generic caulk. You need a powerful, flexible, and completely waterproof adhesive.
- The Best Choice: 100% pure silicone sealant. It provides the necessary flexibility to withstand the thermal expansion and contraction of the sink and counter.
- Application: Apply a continuous, thick (1/4 to 3/8 inch) bead of silicone around the entire perimeter of the sink flange. The bead must be thick enough to squish out slightly when the sink is pressed into place.
Step 2: The Fastening - Secure and Wait
The silicone is the seal; the mounting hardware is the security.
- Position and Press: Carefully lift the sink into place and press it firmly against the countertop.
- Install Clips/Brackets: Secure the sink using the provided mounting clips or brackets. Tighten them evenly, but don't overtighten, as this can squeeze out too much silicone and create a weak spot. You want the silicone to form a robust gasket.
- Wipe the Squeeze-Out: Immediately and carefully clean up the excess silicone that squeezed out around the rim using a clean cloth and mineral spirits or denatured alcohol.
- Cure Time is Critical: Do not use the sink for a minimum of 24 hours—and ideally 48 hours—to allow the silicone to fully cure. A premature soaking will weaken the bond.
Maintenance for Longevity
Even a perfect seal requires vigilance. Regularly inspect the sink-to-counter joint. If you see any black mold or separation, it's time to carefully cut out the old sealant and apply a new bead to maintain your perfect, waterproof barrier.

.svg)
%204.svg)
.png)
