How to Protect Your Laminate Countertop When Installing a New Top Mount Sink
Laminate countertops are durable, affordable, and attractive, but they have a fatal flaw: the substrate beneath the laminate layer is usually particleboard or MDF. Once water penetrates this material (typically through the sink cut-out), it swells and warps—a fast track to irreversible damage.
When installing a top mount (drop-in) sink, the cut-out edge is an open invitation for moisture. Here is the definitive guide to creating a permanent, waterproof shield.
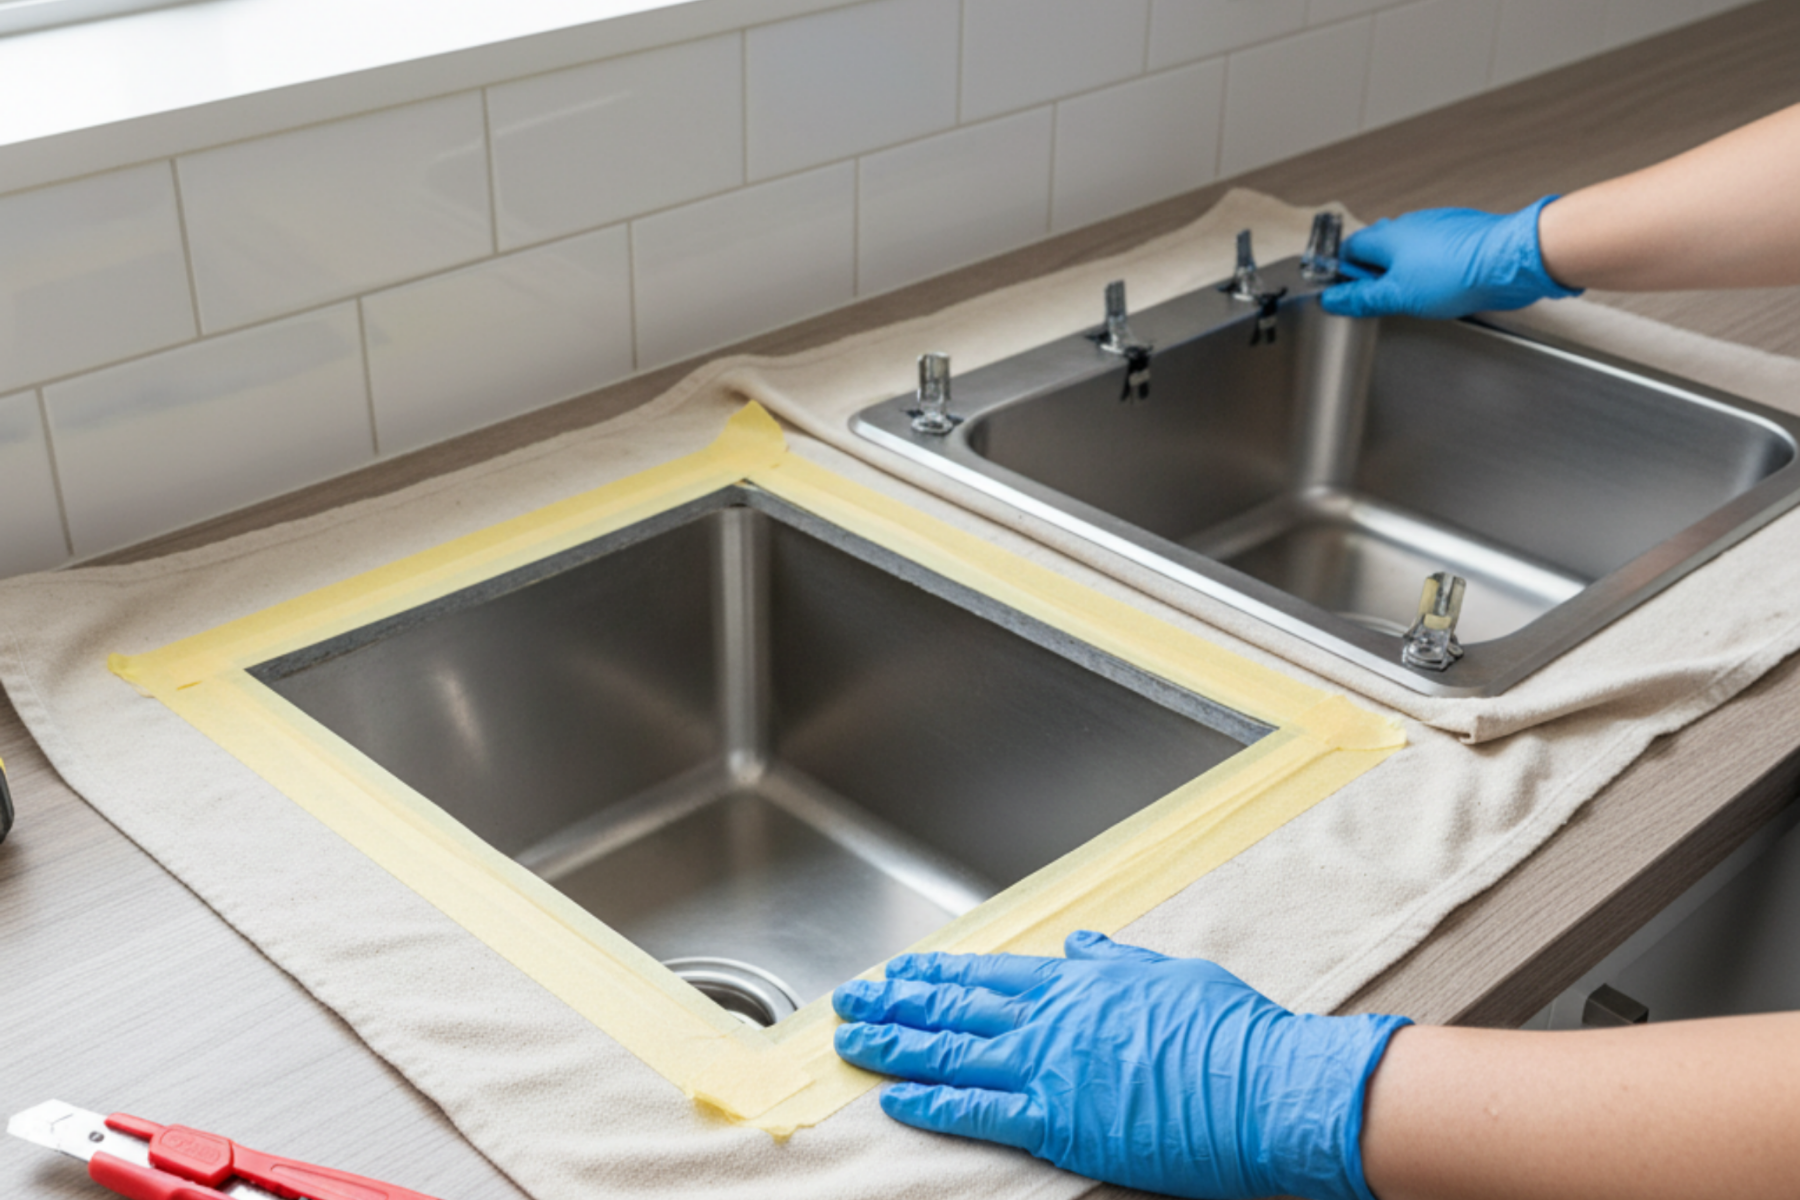
Step 1: The Cut and Clean
If you are expanding a cut-out or making a new one, make sure your cuts are clean and smooth.
- Deburr the Edges: After cutting, gently sand or file any rough spots or frayed laminate near the edge. A smooth surface is essential for proper sealant adhesion.
- Clean and Dry: Wipe the entire cut-out edge with denatured alcohol or acetone. It must be dust-free and bone-dry before proceeding.
Step 2: The Essential Waterproof Barrier
The raw particleboard edge must be sealed before the sink goes in.
- The Best Sealant: Your best defense is a clear, brush-on, moisture-curing polyurethane, marine varnish, or a thin coat of clear epoxy resin. These products soak slightly into the porous wood and cure into a hard, non-permeable shell.
- Application: Brush on two to three generous coats of your chosen sealant, allowing each coat to dry completely according to the manufacturer's directions. Ensure the sealant covers the raw particleboard and laps slightly onto the underside of the laminate surface.
- Why this matters: Even the best silicone seal between the sink rim and the counter can fail over time. This internal coating is your permanent backup defense.
Step 3: The Final Gasket Seal
This is the barrier that prevents water from ever reaching the treated edge.
- Silicone Bead: Run a thick, continuous bead of 100% pure silicone sealant around the underside of the sink rim, or directly onto the countertop perimeter of the cut-out.
- Drop It In: Gently lower the sink into the opening. The weight of the sink will compress the silicone, creating a watertight gasket.
- Wipe and Cure: Immediately remove the excess silicone that squeezes out along the sink-to-counter seam. Do not use the sink or expose the silicone to water for at least 24 hours to allow it to fully cure.
By properly sealing the vulnerable cut-out edges, you can ensure your beautiful laminate countertop stands up to years of splashes and spills.

.svg)
%204.svg)
.png)
