.svg)
%204.svg)
Over 3,500 sinks installed
Contact Us
Thank you! Your submission has been received!
Oops! Something went wrong while submitting the form.
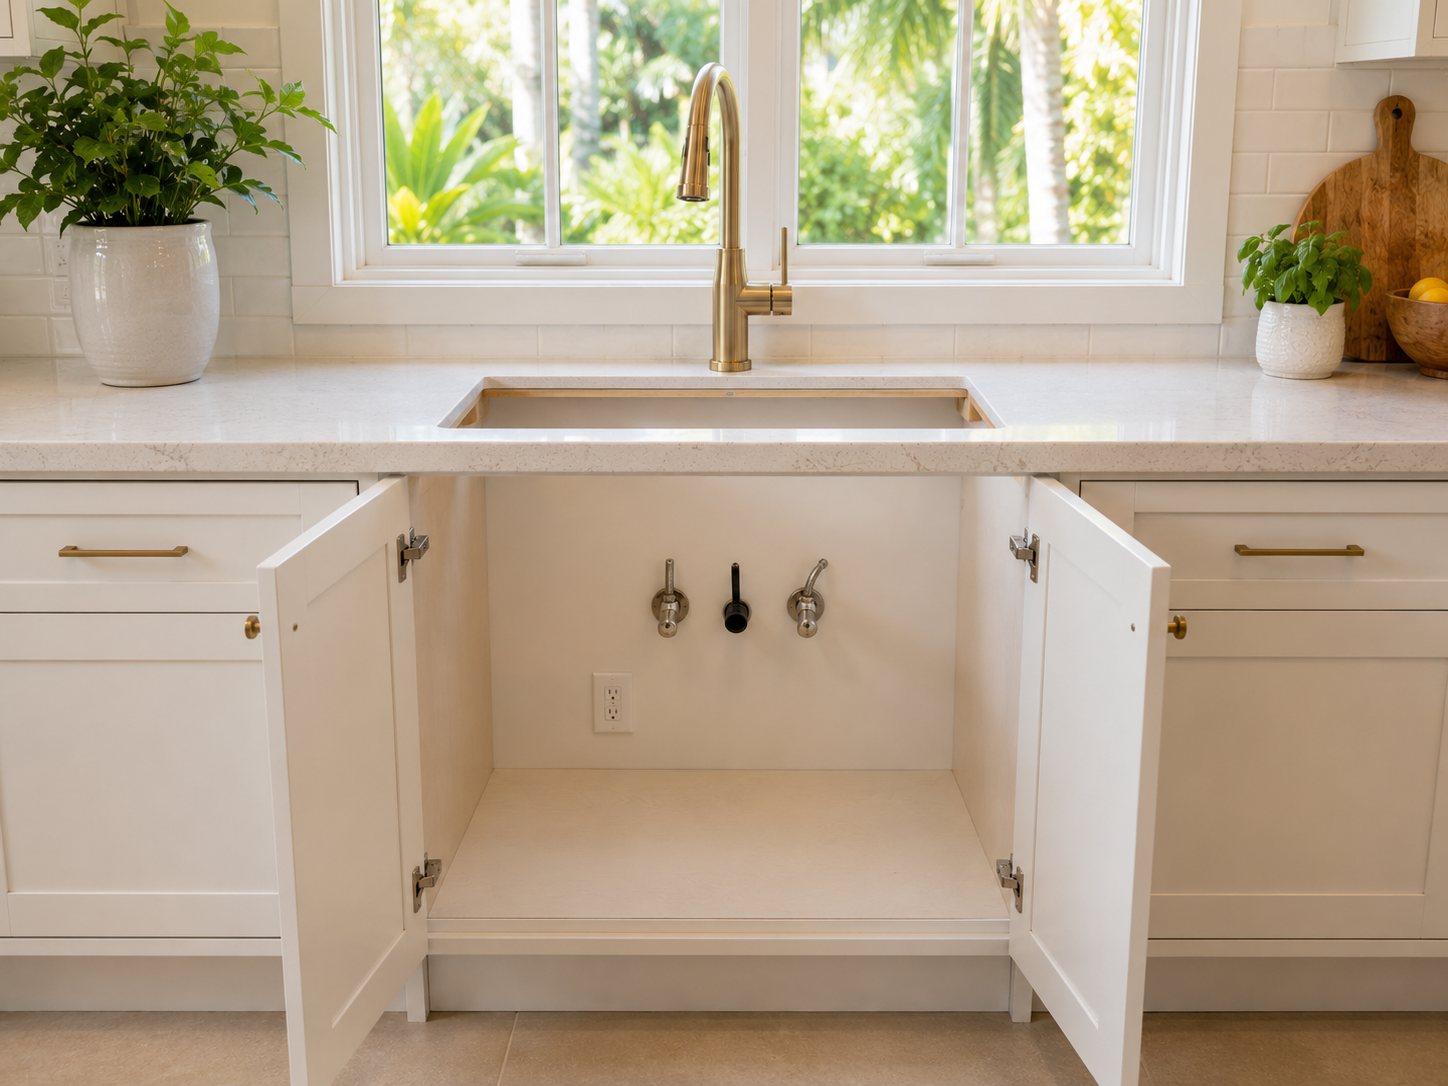
A professional sink installation is designed to be as low-disruption as possible — but a little preparation on your end makes the whole process faster, smoother, and cleaner. Florida homeowners who prep their kitchen the day before installation consistently get better results and a quicker completion time. Here's exactly what to do.
This is the single most helpful thing you can do before an installation. The cabinet under the sink is the workspace — the installer needs clear, unobstructed access to the water supply shutoff valves, drain connections, and mounting hardware. Cleaning products, trash bags, extra towels, and anything else stored under the sink should be completely removed and set aside. It takes five minutes and can shave 20 to 30 minutes off the installation time.
The countertop directly around the sink needs to be clear — appliances, dish racks, soap dispensers, and decorative items should be moved to another surface or another room. A clean, dry countertop gives the installer clean access to the sink perimeter and makes the finishing seal work cleaner and more precise. Wipe the countertop surface around the sink with a dry cloth so the installer is working on a dry surface — this matters for the silicone seal adhesion.
Pro Tip: If you have an under-sink water filter, reverse osmosis system, or instant hot water dispenser connected to your sink, let your installer know before installation day. These connections need to be properly rerouted during the replacement — a heads-up ensures the right materials are on the truck.
A day or two before your installation, reach under the sink and try turning the hot and cold water shutoff valves. They should turn smoothly from fully open to fully closed. If they feel stiff, stuck, or leak slightly when turned — a very common situation in older Florida homes — let your installer know immediately. Corroded or seized shutoff valves need to be replaced before or during the installation, and knowing about them in advance avoids a mid-job surprise.
Before installation day, take a few minutes to check under the sink for any existing moisture, mold spots, soft wood, or signs of past leaking. Look at the condition of the garbage disposal if you have one. Note whether the faucet handles drip or whether the drain has been slow. Sharing these observations with your installer at the start of the visit allows them to address everything comprehensively rather than discovering issues mid-job.
Most Florida sink installations are complete in two to four hours from start to finish — including removal, installation, testing, and cleanup. Plan for this window by doing any dishes in advance and filling a pitcher of water for drinking. If you have young children or pets, keeping them in another room during the installation makes the work faster and safer. The kitchen will be fully functional with running water again the same day.
You do not need to remove or protect your countertop — we handle that. You do not need to turn off the water main — we shut off only the under-sink supply valves. You do not need to purchase a new drain kit or supply lines — these are included in the installation. And you definitely do not need to attempt removing the old sink yourself — leave that to the professionals, particularly if it's an undermount in a granite or quartz countertop.
A little preparation goes a long way. Clear the cabinet, clear the counter, and let us handle everything else. It really is that straightforward.
Ready to Schedule Your Installation?
Call I Hate My Sink at 1(866) 790-6929 or visit ihatemysink.com to book your free in-home consultation. We'll walk you through every preparation step before we arrive.

.svg)
.svg)

.png)
