%204.svg)
%204.svg)
%204.svg)
%204.svg)
%204.svg)

Replacing a top mount (drop-in) sink is one of the most straightforward kitchen upgrades you can do. Unlike undermount sinks, which require precise countertop cuts and professional sealing, a top mount sink sits securely on the counter with a rim that makes installation simpler. Whether your old sink is rusting, leaking, or just outdated, this guide will walk you through each step of the process to ensure a smooth, leak-free replacement.
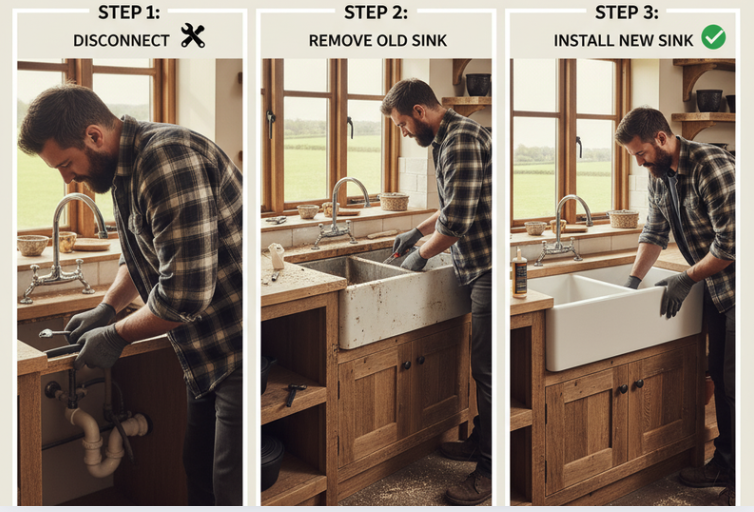
Start by turning off the hot and cold water valves located under the sink. Turn the faucet on afterward to relieve any leftover water pressure. If your sink has a garbage disposal, unplug it or switch off the circuit breaker for safety.
Place a bucket under the sink to catch any water that may drip during removal. Use a wrench to disconnect the water supply lines from the faucet, then detach the drain pipes and P-trap. If you have a garbage disposal, remove it according to the manufacturer’s instructions.
Run a utility knife along the edge of the sink to break the old sealant. From underneath, loosen and remove the mounting clips securing the sink to the countertop. With the help of a friend (sinks can be heavy!), gently lift the old sink out of the counter cutout. Scrape away any leftover caulk or adhesive from the countertop surface.
Before installing the new sink, dry-fit it into the opening to make sure it sits properly. If necessary, adjust the opening with a jigsaw or file to ensure a snug fit. Clean the area thoroughly and apply a bead of silicone sealant around the cutout to create a watertight base.
Carefully lower the new top mount sink into position, pressing down evenly to spread the silicone seal. From below, install the mounting clips and tighten them evenly around the sink to secure it firmly to the countertop. Wipe away any excess sealant that squeezes out around the edges.
Reconnect the drain assembly, P-trap, and water supply lines. If you’re reinstalling a garbage disposal, make sure it’s mounted securely before turning on power again. Tighten all fittings carefully—too much force can cause leaks or damage.
Turn on the water supply and run both hot and cold water for a few minutes. Check underneath for any leaks at the connections. If everything stays dry, congratulations—your new sink is successfully installed!
Replacing a top mount sink is one of those projects that gives your kitchen an instant refresh without requiring a full renovation. But if you notice alignment issues, persistent leaks, or rusted plumbing, it might be time to call in the experts.
At I Hate My Sink, we make sink replacement simple, clean, and stress-free. Whether you’re upgrading to a workstation model, adding a new faucet, or just tired of your old setup, we handle the details so you don’t have to.